Ceiling fans are a common feature in American homes, providing both air circulation and lighting in bedrooms, living rooms, kitchens, and open areas. Over time, homeowners may consider modifying their ceiling fans to improve airflow, refresh style, or incorporate modern technology such as LEDs and remote control systems. Modifying a ceiling fan can be a satisfying DIY project, but it carries real safety risks if done improperly. This guide explains how to modify a ceiling fan safely and correctly, covering safety procedures, common modifications, electrical considerations, troubleshooting, and product recommendations.
Parrot Uncle is a U.S.-based home brand best known for ceiling fans, and lighting solutions that improve comfort and elevate the look of everyday spaces.Modifying a fan is often more cost-effective than replacing it, particularly if the motor and housing are still in good condition. Some homeowners focus on blade upgrades for better airflow, light kit enhancements for improved illumination, or remote control installation for convenience. While these upgrades can improve comfort and efficiency, they require careful planning to prevent damage to the fan or injury.

Why Modify a Ceiling Fan?
There are several reasons homeowners consider modifying a ceiling fan:
- Airflow Optimization – Replacing blades or adjusting pitch can increase circulation in large rooms or high-ceiling spaces.
- Lighting Improvements – Upgrading light kits to LED or changing lampshades can enhance energy efficiency and light diffusion.
- Modernized Appearance – Updating the fan with new blades, finishes, or integrated light kits can refresh the look of the room.
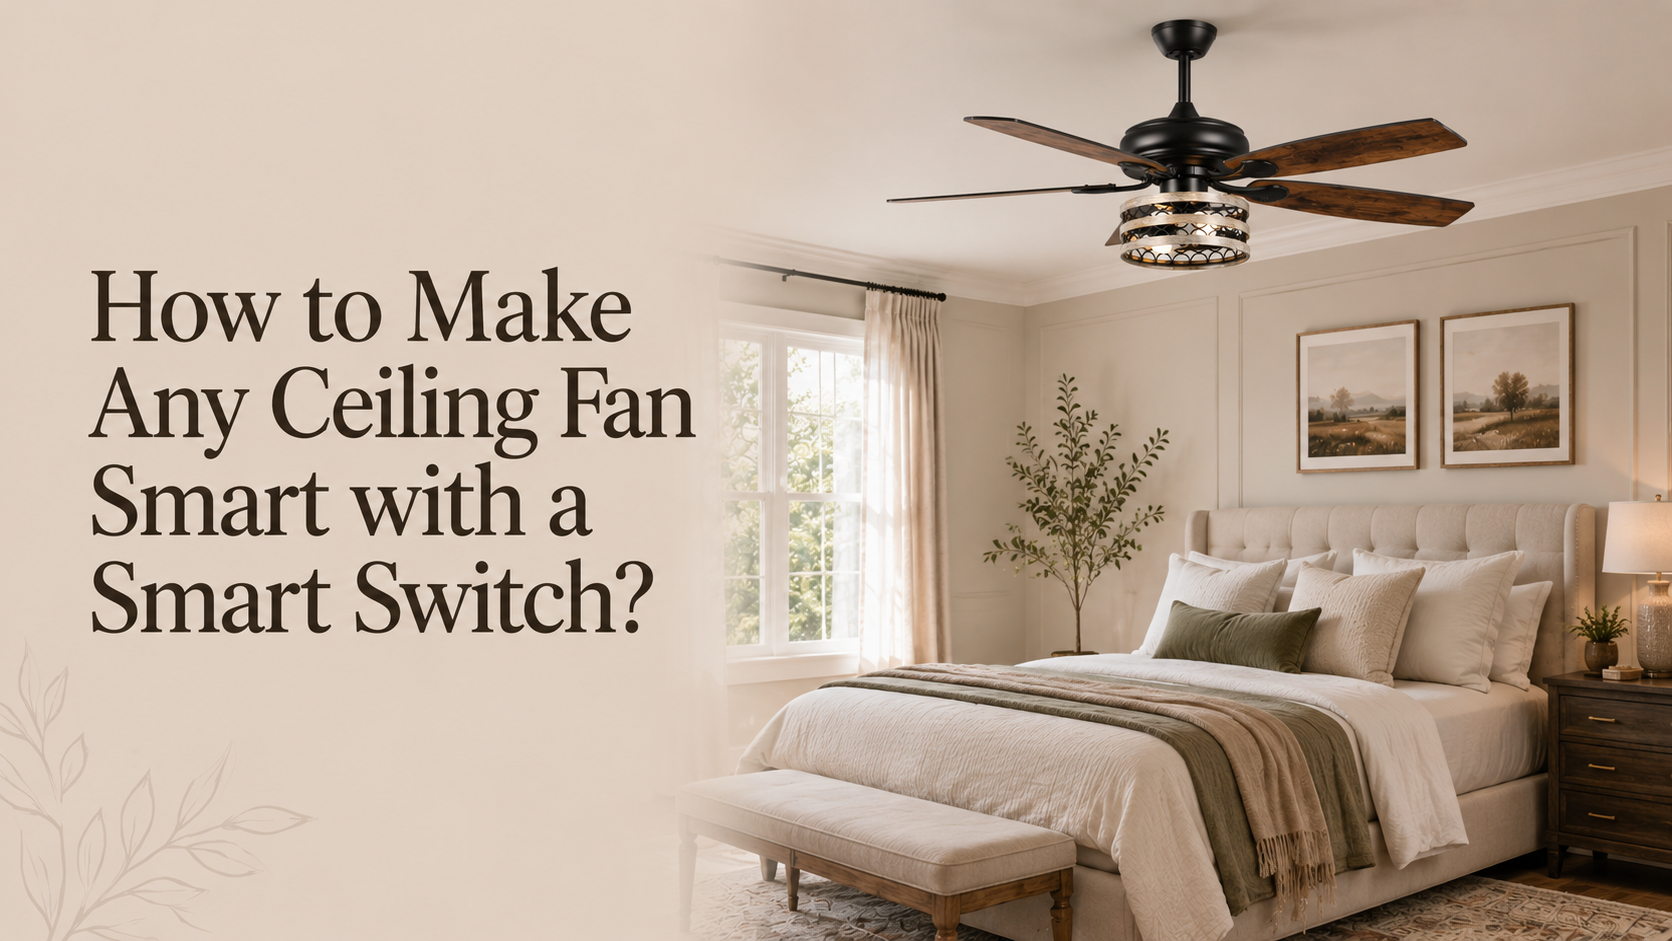
- Remote Control or Smart Features – Adding a compatible remote or smart module allows for easier operation and multi-fan management.
Modifications are practical when the existing fan motor and housing are reliable. If the fan is noisy, unstable, or outdated, replacing the entire fan may be a better long-term choice.
Understanding Your Ceiling Fan
Before modifying a fan, it’s important to understand its key components:
| Component | Purpose | Modification Notes |
|---|---|---|
| Motor (AC or DC) | Drives blades | DC motors allow finer speed control; AC motors are less flexible |
| Blades | Move air | Blade size, pitch, and material affect airflow and vibration |
| Light Kit | Houses bulbs or LEDs | Can be upgraded with LED modules, diffusers, or new shades |
| Controls | Wall switch, pull chain, or remote | Remote modules can often be added without rewiring |
Blades are designed for a specific airflow pattern. Altering blade length, weight, or pitch without proper balancing can lead to wobbling, excessive noise, or motor strain. Light kits must be compatible with both the fixture and the bulbs used.
Safety Precautions
Safety should always be the first priority when modifying a ceiling fan.

Turn Off Power
Always switch off the fan at the wall and at the circuit breaker. Even if your fan uses a remote, never rely solely on it to cut power. This ensures there is no risk of electrical shock.
Wait for Bulbs and Shades to Cool
Ceiling fan light bulbs, especially incandescent or halogen, can become extremely hot. Allow sufficient time for the bulbs and shades to cool before handling them.
Use a Stable Ladder
Never stand on chairs, tables, or other furniture. Use a properly rated step ladder to work at ceiling height, and ensure it is placed on a flat, stable surface.
Wear Protective Gear
Gloves are recommended when handling blades, screws, or glass shades. Safety goggles are also suggested if you plan to remove older hardware or work with metal blades.
Prepare Tools and Workspace
Gather tools such as screwdrivers, a voltage tester, measuring tape, and a soft towel to safely place glass or blade components. Keep a small bowl handy to organize screws, nuts, and washers.
Common Ceiling Fan Modifications
1. Blade Replacement and Balancing
Replacing fan blades can enhance airflow or update the fan’s aesthetic. Follow these steps:
- Remove existing blades carefully, supporting each to prevent dropping.
- Select replacement blades with the correct span, weight, and pitch.
- Install blades evenly and secure screws gently to prevent wobbling.
- Test the fan at low speed before full operation.
| Blade Material | Airflow | Noise | Durability |
|---|---|---|---|
| Wood | Moderate | Quiet | Medium |
| Metal | High | Louder | High |
| Composite | Moderate | Quiet | High |
Proper balancing ensures efficient airflow and prevents excessive strain on the fan motor.

2. Light Kit and Shade Upgrades
Upgrading the light kit improves energy efficiency and lighting quality:
- LED Conversion: LEDs consume less power, produce less heat, and have a longer lifespan.
- Shade Replacement: Frosted, clear, tinted, or patterned glass can influence light diffusion and room aesthetics.
- Bulb Compatibility: Ensure wattage and bulb type match fixture specifications.

3. Remote Control or Wall Module Integration
Modern remotes allow for fan speed adjustment, light dimming, and multiple fan management:
- Verify frequency compatibility with the fan motor.
- Avoid interference with nearby fans or electronics.
- Follow the manufacturer’s instructions to maintain warranty and avoid motor strain.
| Control Type | Notes |
|---|---|
| Wall switch | Can be replaced with a dimmer or smart module |
| Pull chain | Can be integrated into remote module |
| Remote | Must match motor type and fan model |
Electrical Considerations
Understanding electrical constraints is critical:
- Line Voltage vs. Low Voltage: Know your fan type before installing additional components.
- Amperage and Wattage Limits: Exceeding the motor’s rated current can cause overheating or failure.
- Proper Connectors: Always use wire nuts or connectors rated for the application.
- Professional Help: If unsure about wiring or motor compatibility, consult a licensed electrician.
Step-by-Step Safe Modification Process
- Plan Modifications: Decide which blades, lights, and controls you want to change.
- Turn Off Power: Verify the fan is fully de-energized.
- Remove Components: Carefully detach blades, light kit, or shades.
- Install New Parts: Match size, weight, and fitter style. Tighten screws securely but not overly tight.
- Balance and Test: Run the fan at low speed to check for wobble or noise.
- Restore Power and Confirm: Test lighting, speed control, and remote functionality.

Troubleshooting Common Issues
| Problem | Cause | Solution |
|---|---|---|
| Fan wobbles | Blade imbalance | Adjust or replace blades |
| Light flicker | Incompatible bulb or dimmer | Switch to compatible LED |
| Remote unresponsive | Frequency mismatch | Re-pair or reset module |
| Excessive noise | Loose screws | Tighten or check mounting |

When to Replace the Fan
Replacement may be a better option if:
- The motor is old or noisy.
- Wiring or light kit is damaged.
- Fan is outdated and hard to match aesthetically.
- Integrated lighting or smart features are desired.
| Situation | Recommended Action |
|---|---|
| Cracked or old shade | Replace the shade |
| Worn socket or hardware | Replace light kit or fan |
| Fan motor noisy | Replace the entire fan |
| Need modern lighting or dimming | Upgrade to integrated LED fan |
Parrot Uncle Ceiling Fan Examples
If your existing ceiling fan is old, noisy, hard to modify, or no longer matches your room, replacing it may be smarter than trying to keep upgrading parts. A newer ceiling fan can give you modern airflow, integrated lighting, remote control, and a cleaner look without needing separate blade, light kit, or control modifications.
Parrot Uncle offers ceiling fans with lights, remote controls, DC motors, reversible airflow, and modern designs for U.S. homes. Below are two current product examples that fit the topic of safe ceiling fan upgrades.
1. 52 Inch Bucholz Ceiling Fan with LED Light
The 52 Inch Bucholz Ceiling Fan with LED Light is a good option for homeowners who want a modern fan with lighting and remote control already built in. Instead of modifying an older ceiling fan with a new light kit or control system, this model gives you an integrated setup from the start.According to the product page, this fan includes a brushed chrome finish, LED light kit, handheld remote control, 6 speed settings, and 4 blades. The product description also notes quiet, smooth operation and lists it as suitable for living rooms, bedrooms, dining rooms, and similar indoor spaces.
| Feature | Why It Helps |
|---|---|
| 52 inch size | Works for many standard bedrooms, dining rooms, and living rooms |
| LED light kit | Reduces the need for a separate ceiling light upgrade |
| Remote control | Makes speed, timing, and direction control easier |
| 6 speed settings | Gives more airflow flexibility than basic pull chain fans |
| Brushed chrome finish | Fits modern and transitional interiors |
This fan fits well in the article because it shows when a complete fan upgrade can be better than modifying an old fixture. If your current fan needs a new light kit, new controls, and better airflow, replacing it with a ready made fan like this can reduce compatibility problems.

2. 52 Inch Punjab Smart Fan with LED Light
The 52 Inch Punjab Smart Fan with LED Light is a stronger choice for homeowners who want smart control instead of a basic remote upgrade. It is designed for modern smart home use and includes multiple control options.The product page states that the Punjab fan includes remote control, mobile app control, and voice control through Alexa and Google Assistant. It also lists a 52 inch size, 5 reversible ABS blades, DC motor, 24 watt integrated LED light panel, 3000K, 4000K, and 6000K color temperature settings, 30 watt motor power, and 6000 CFM airflow.
| Feature | Why It Helps |
|---|---|
| Smart control | Useful if you want app or voice control instead of adding a separate module |
| Remote included | Allows easy daily use without relying only on wall switches |
| DC motor | Supports efficient airflow and quieter operation |
| Reversible blades | Helps with seasonal airflow control |
| Adjustable light temperature | Lets you switch between warm, neutral, and brighter white light |
| 6000 CFM airflow | Strong airflow for larger indoor rooms |
This model is a good fit for the article’s modification theme because it can replace several separate upgrade projects. Instead of adding a remote kit, changing the light setup, and improving airflow piece by piece, a smart fan like this provides those features in one fixture.

Quick Comparison
| Feature | 52 Inch Bucholz LED Fan | 52 Inch Punjab Smart Fan |
|---|---|---|
| Best For | Modern rooms needing LED light and remote control | Smart homes needing app, remote, and voice control |
| Size | 52 inches | 52 inches |
| Light | Integrated LED light kit | 24 watt integrated LED panel |
| Control | Handheld remote | Remote, mobile app, Alexa, Google Assistant |
| Motor | Listed for quiet, smooth operation | DC motor |
| Style | Brushed chrome modern look | Industrial smart fan look |
| Good Replacement For | Older fans with outdated light kits | Older fans needing smart control and stronger airflow |
Best Practices
- Always follow manufacturer guidelines.
- Match blades, shades, and light kits precisely.
- Test the fan at low speed first after any modification.
- Perform periodic maintenance for motor, wiring, and screws.
- Avoid forcing parts; consult a professional if uncertain.
Conclusion
Modifying a ceiling fan can enhance airflow, lighting, and aesthetics. Safety is critical: power off, let bulbs cool, use a stable ladder, support components, and measure carefully. Blade replacement, light kit upgrades, and remote installation are effective modifications when done correctly. For older or damaged fans, a modern Parrot Uncle fan with integrated LED lighting, reversible blades, and quiet DC motors may provide a cleaner, long-term solution.