You’re staring at a quiet ceiling and thinking: “I wish a fan could live up there.” Good news — yes, you can add a ceiling fan even when there’s no existing hole or light. This guide walks you through safe, practical ways to make the opening, bring power where it’s needed, and mount everything so it’s secure, quiet, and long-lasting. You’ll get plain-English steps, easy formulas to estimate cost and savings, three everyday scenarios, and simple tables that help you choose the best method for your home.
Quick answer in one minute
- Yes, you can add a ceiling fan without an existing hole. You’ll create a new opening, install a fan-rated electrical box that’s anchored to the structure, and run new cable to a switch or a remote receiver.
- Three popular paths: (1) Work from the attic and install a fan brace; (2) Use an expandable brace from the room below; (3) Use surface raceway with a low-profile (“pancake”) fan box for minimal drywall work.
- Non-negotiables: Use a box that’s listed for ceiling fans, follow local electrical codes/permits, and shut power off before work. If anything feels iffy, call a licensed electrician.
Key takeaway: No hole? No problem — but the box must be fan-rated and solidly attached to framing, and power must be routed correctly.
What “fan-rated” actually means (and why it’s different from a regular box)
A standard plastic ceiling box that once held a dome light is not designed for the spinning load of a fan. A fan-rated box is tested and listed to support the constant dynamic load. Many are rated for up to 70 lb (31.8 kg) fans; always check the package label for the exact number. You’ll also see expandable brace kits that twist into place between joists for strong, vibration-resistant support.
For definitions and deeper background, see Wikipedia’s ceiling fan overview (quick primer), and energy-use context from U.S. DOE Energy Saver (how fans affect comfort and AC use). If you want the official code context for “listed for fan support,” check NFPA 70 (NEC) (the National Electrical Code, the model code adopted by many areas; see your local amendments).
Three easy methods to add a fan when there’s no existing hole
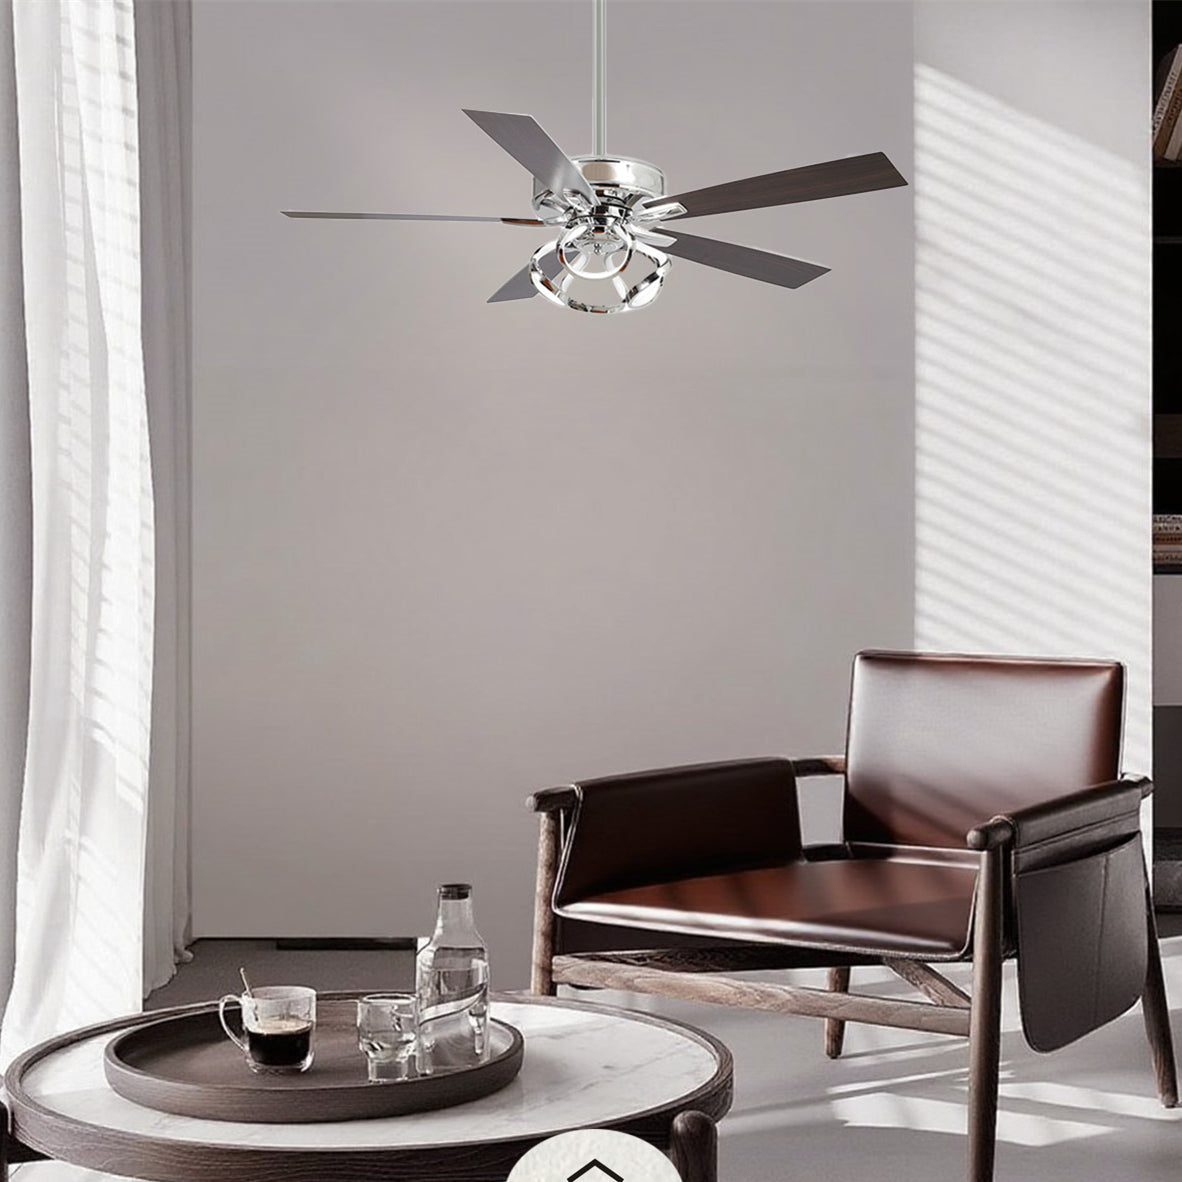
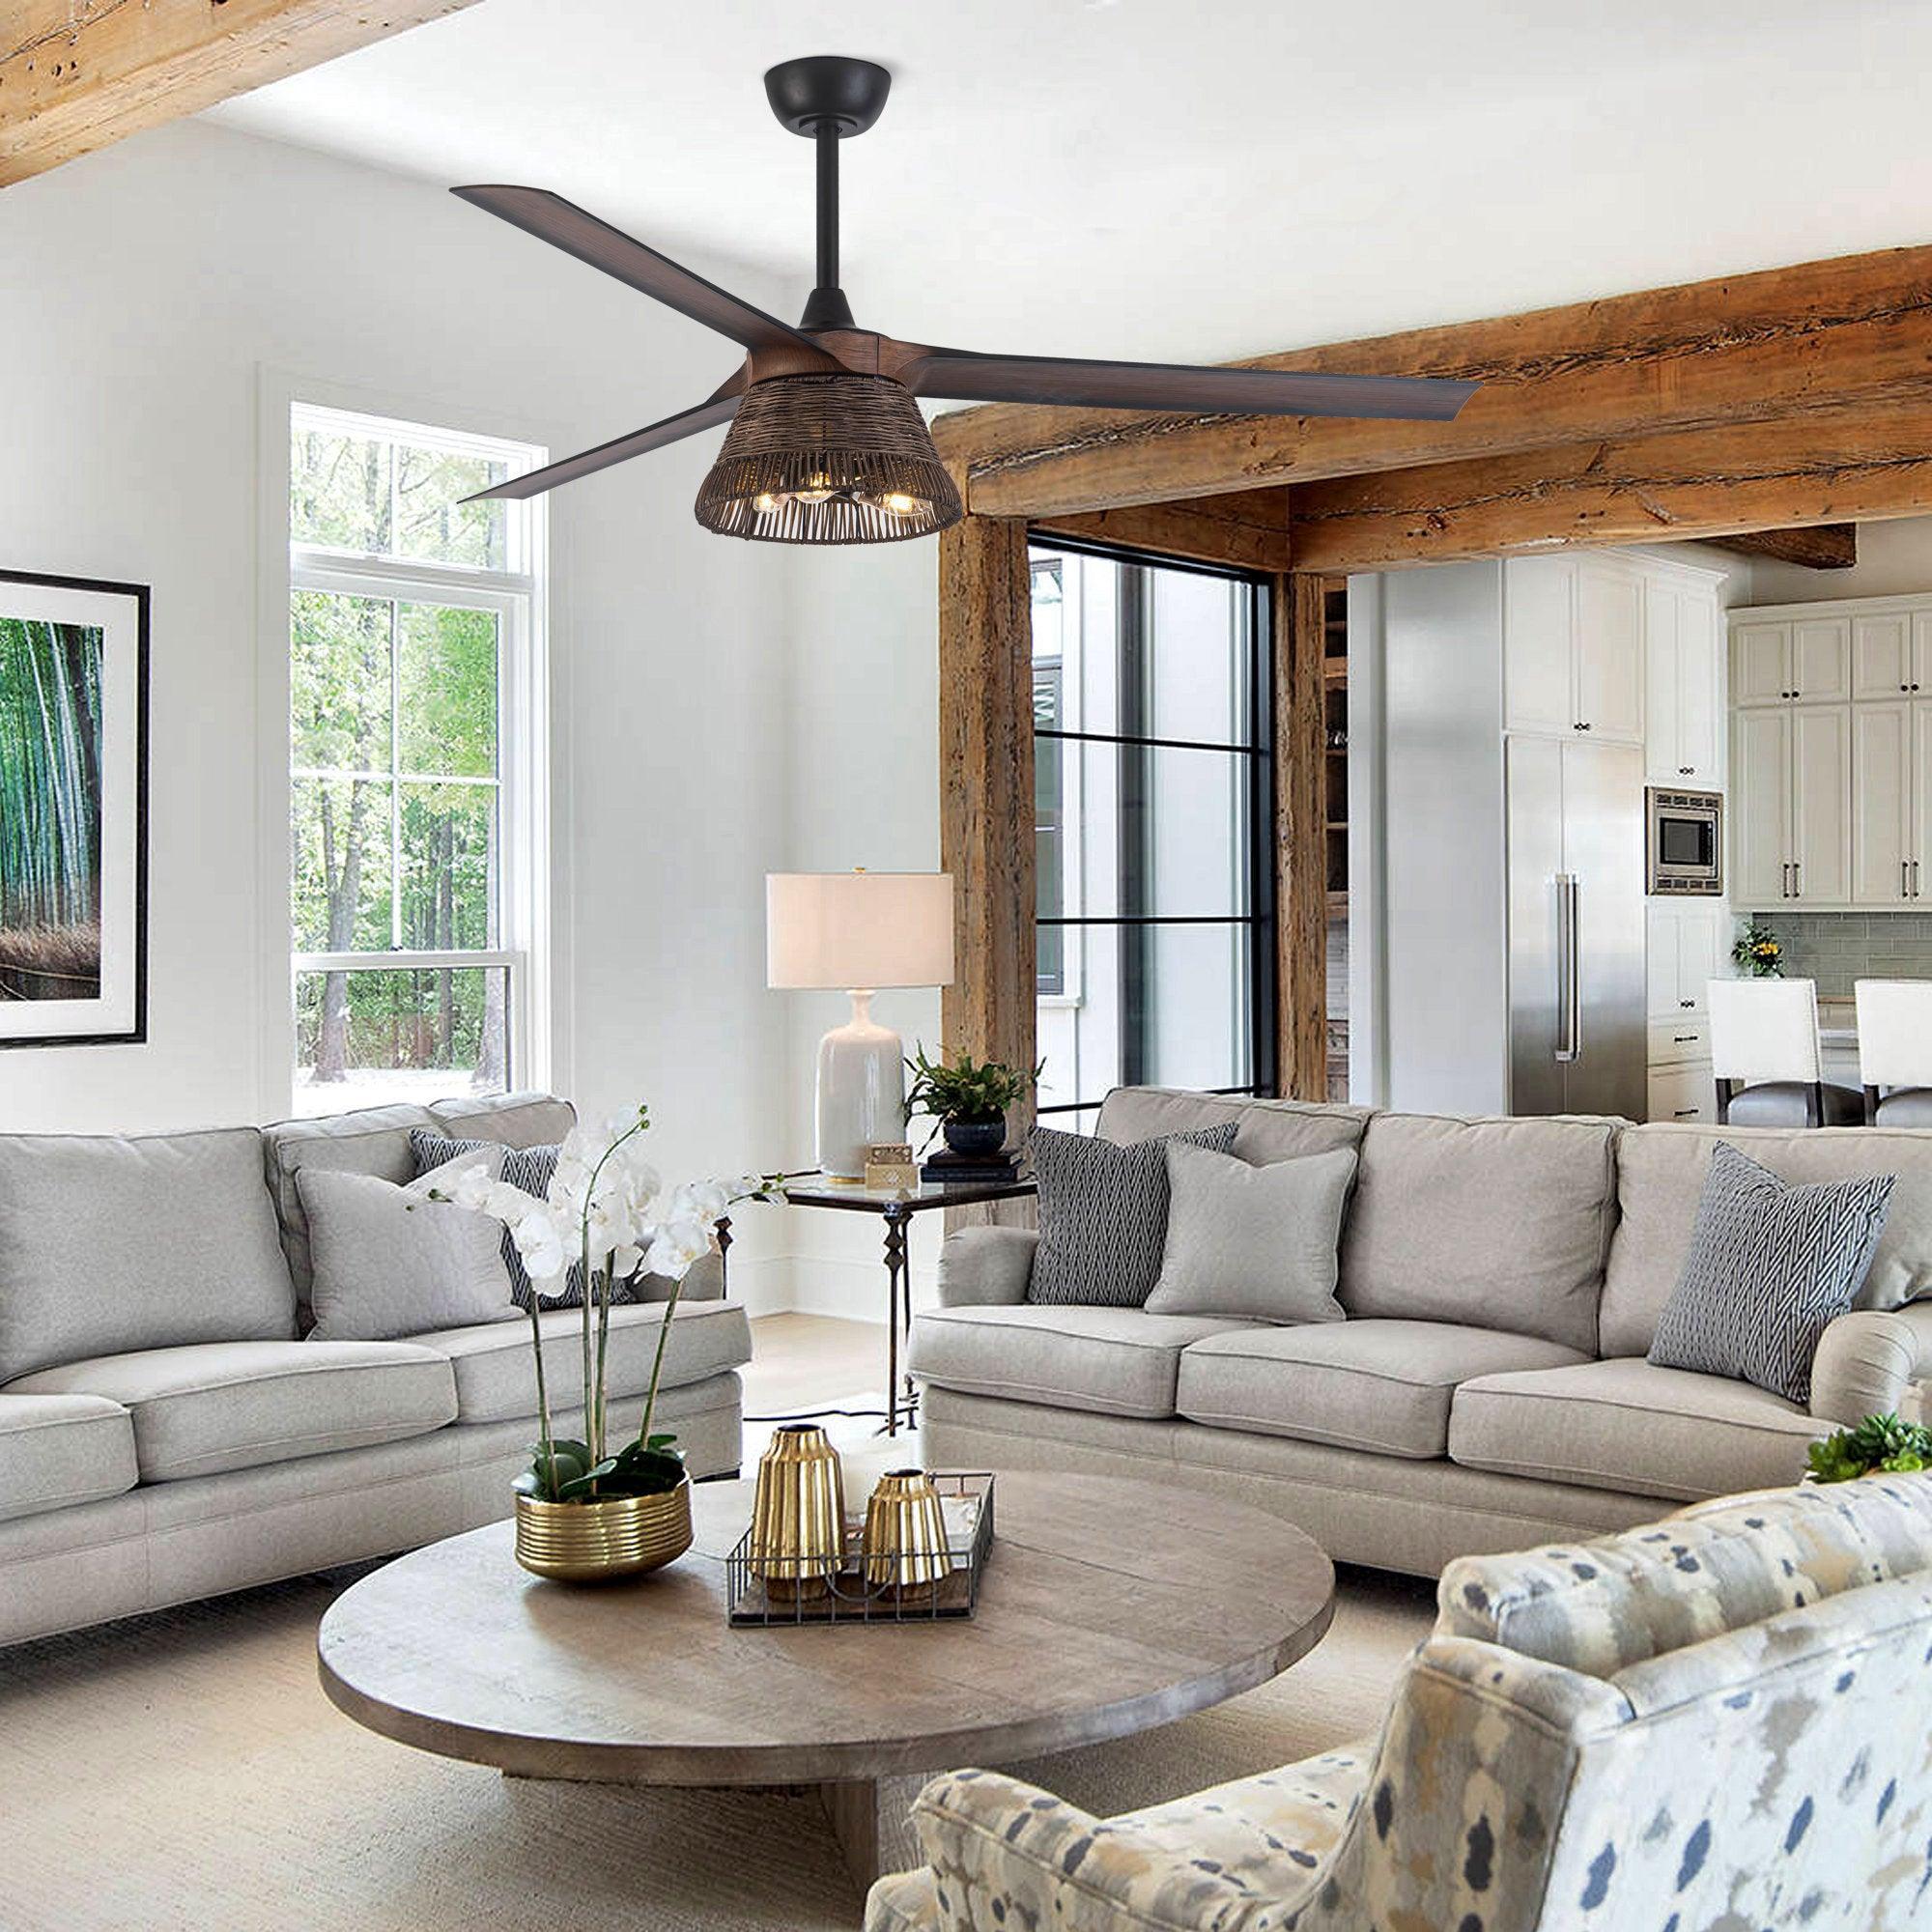
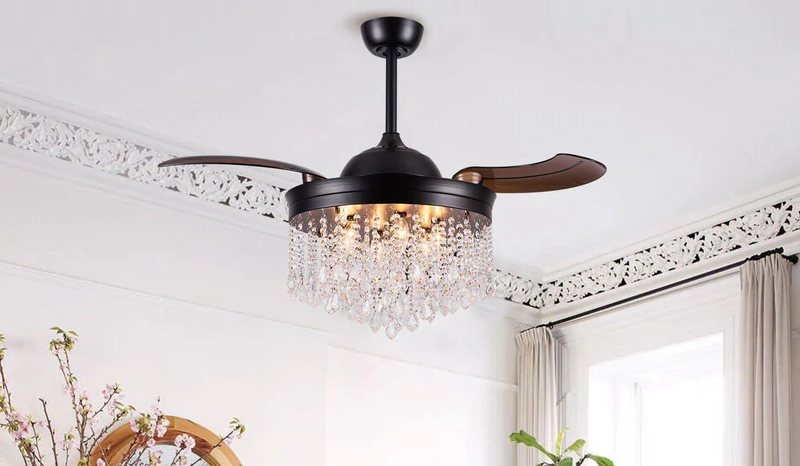
Pick the path that matches your ceiling access and your comfort level. Right after each description, you’ll find a short step-by-step so you can picture the workflow. To help you visualize, here are simple contextual images you can click for reference.
Method 1 — From the attic: install a brace and run cable from above
Best when: You have attic access above the room. This minimizes cutting and makes cable fishing easier. It’s also the most forgiving route for first-time DIYers.
- Shut power off at the breaker. Verify with a non-contact tester.
- In the attic, locate the center of the room. Mark the joist locations. Drill a small pilot to confirm position from below.
- From the room, cut a circle for the fan box using the included template.
- Install a fan-rated brace between joists; attach the listed metal box to the brace.
- Drill a top plate hole (if adding a new switch) and run NM-B cable (typical 14/2 or 12/2 depending on circuit) from the power source to the switch and up to the fan box. Use bushings and staples where required.
- Make up the grounds, neutrals, and hots per the fan’s wiring diagram. If you’re using separate fan/light switching, you’ll need the correct conductor count (e.g., 14/3).
- Mount the fan bracket, hang the motor, connect wires, attach blades, and balance.
Why it works: You’re attaching to framing from above, so the box is rock-solid, and cable routing is straightforward.
Method 2 — From the room below: expandable brace through a small opening
Best when: There’s no attic access (e.g., second-floor ceiling under a finished attic). You’ll still get a strong attachment without opening a huge section of drywall.
- Shut power off and verify.
- Use the provided template to cut a single circular hole.
- Insert the expandable fan brace through the hole and twist to lock it between joists.
- Attach the fan-rated box to the brace.
- Fish cable from an existing power source (or new circuit) up the wall, across joists as needed, and into the new box. Add a switch box if you want wall control.
- Connect wiring per diagram; mount the fan and test.
Why it works: The brace grips the joists internally; you only open one neat hole that the canopy will cover.
Method 3 — Surface raceway + pancake box (minimal patching)
Best when: You want the smallest wall/ceiling cuts, or you’re in a space with plaster or masonry where fishing cable is hard. Surface raceway keeps wiring protected and neat on the surface.
- Shut power off and verify.
- Plan a run from a power source to the fan location using listed surface raceway and fittings. Choose a route that’s straight and discreet.
- Anchor a fan-rated pancake box to a joist (pancake boxes are shallow, perfect where depth is tight). If no joist is at center, use a listed brace solution compatible with your fan.
- Install the raceway, pull conductors per listing, and make connections.
- Mount the fan and cover. Label the raceway circuit as needed.
Why it works: Everything stays accessible and neat, and you avoid large exploratory cuts.
Which method is easiest and fastest for you?
Use this quick comparison to match your situation to a method. Times assume a careful, first-time DIYer working without rushing.
| Method | Typical DIY Time (hrs) | Skill Level | Drywall/Patching |
|---|---|---|---|
| Attic brace + cable from above | 3–5 | Intermediate | Minimal (single round cut) |
| Expandable brace from below | 4–6 | Intermediate | Minimal (single round cut) |
| Surface raceway + pancake box | 2–4 | Beginner–Intermediate | Very low (mostly fasteners) |
Tools, materials, and how to get them quickly
You can find everything at a home center or online by searching for: “fan-rated box,” “expandable fan brace,” “pancake fan box,” and “surface raceway kit.” For step-by-step retail guides, see Home Depot’s installation guide (visual walkthrough) and Family Handyman’s tutorial (cutting, bracing, wiring basics). For performance shopping, browse ENERGY STAR® ceiling fans (efficiency, airflow ratings).
- Stud finder (or small test holes), drywall saw or hole saw, drill/driver, fish tape.
- Non-contact voltage tester, wire strippers, assorted wirenuts, electrical tape.
- Fan-rated box + brace (attic or expandable), screws per listing.
- NM-B cable (gauge per circuit), staples, and a new wall switch box (if adding a switch).
- Optional: surface raceway kit with fittings (elbows, tees, couplings).
- Ceiling fan kit with mounting bracket, canopy, blades, and balancing kit.
Safety first — always
- Turn off the correct breaker and verify power is truly off.
- Use a listed, fan-rated box and follow the included instructions.
- Support your ladder on a firm, level surface. See OSHA’s ladder checklist if you’re new to ladders.
- Follow local permit rules and inspections; some areas require a permit even for simple fan installs.
For formal code language and local adoption, start at NFPA 70 (NEC) and then check your city or county building department website (search “electrical permit ceiling fan”).
How to wire when there’s no existing switch
You have two main choices:
- Add a wall switch: Run new cable from power to a switch box and then to the fan. If you want separate fan and light control, run a cable with an extra conductor (e.g., 14/3).
- Use the included remote receiver: Many fans ship with a canopy-mounted receiver; you only need unswitched power to the fan box. The handheld remote controls speed and light.
Tip: If fishing a new cable to the wall is tough, the remote route cuts work dramatically. Keep spare batteries handy and label the remote so it doesn’t vanish between sofa cushions!
Two simple, practical formulas you can use today
Formula 1 — Will a new fan actually save you money on cooling?
Idea: Fans don’t lower room temperature; they make you feel cooler via air movement. That lets you set the thermostat higher and run the AC less. Here’s a back-of-the-envelope estimate.
Cooling savings per month ≈ (AC kWh/month without fan − AC kWh/month with fan) × electricity rate − (fan wattage × fan hours × 30 ÷ 1000 × rate)
Example: If your AC uses 500 kWh in a summer month and a fan lets you cut AC use by 8% while the fan itself draws 30 W for 6 hours/day at $0.16/kWh:
- AC reduction: 500 × 0.08 = 40 kWh saved.
- Fan use: 30 W × 6 h × 30 days = 5400 Wh = 5.4 kWh used.
- Net kWh saved: 40 − 5.4 = 34.6 kWh; savings ≈ 34.6 × $0.16 = $5.54 for that month (per fan).
What to watch: Higher-efficiency fans (see ENERGY STAR) and higher electricity rates increase savings. DOE notes you can often raise the thermostat about 4°F and feel just as comfortable with a fan running (DOE Energy Saver).
Formula 2 — Support margin: is your box enough for your fan?
Support margin (lb) = Box rating (lb) − [Fan weight (lb) + light kit/add-ons (lb)].
Example: If the listed box rating is 70 lb, your fan motor is 18 lb, and the light kit is 3 lb, then margin = 70 − (18 + 3) = 49 lb. That’s comfortable for typical residential fans. Always verify with the instructions supplied with your specific box and fan.
Real-life scenarios (so you can see how this plays out)
Scenario A — No attic access in a second-floor bedroom
You choose the expandable brace method. After mapping joists with a stud finder, you cut one circular hole and twist the brace tight between joists. You fish cable from an adjacent closet light circuit (confirming capacity and code rules), add a new wall switch, wire the fan, and patch only around the switch box. It takes one afternoon. Comfort jump is immediate — you raise the thermostat by 4°F on warm nights and sleep easier.
Scenario B — Plaster ceiling in an older home
Plaster cracks easily, so you go surface raceway + pancake box to avoid big cuts. You align the raceway along a corner for a clean look. The pancake box lands directly on a joist at the room centerline; you choose a hugger/low-profile fan to keep things solid and reduce wobble on old framing.
Scenario C — Tall living room, attic above
With attic access and a long ladder, you install a fan brace, pull a 14/3 cable for separate fan/light control, and pick a DC-motor fan with a long downrod. Airflow improves at low RPMs, cutting noise while keeping comfort steady.
How much time and money do these methods typically save?
Here’s a simple way to compare weekly “hassle” vs. comfort/AC savings. These numbers are easy estimates to help you choose a path, not rigid predictions.
| Room Type | Fan Run Time (h/wk) | AC Runtime Reduction | Estimated Savings ($/wk) |
|---|---|---|---|
| Small bedroom (~120 sq ft) | 35 | ~6% | $0.90 |
| Living room (~250 sq ft) | 40 | ~8% | $1.40 |
| Open-plan area (~400 sq ft) | 50 | ~10% | $2.20 |
Notes: Savings assume a typical 25–35 W efficient fan and $0.16/kWh electricity. Actual results vary with climate and setpoints; consult DOE Energy Saver for comfort guidance.
Common mistakes (and how you’ll avoid them)
- Mistake 1: Using a plain light-duty ceiling box. Fix: Only install a box listed for “ceiling-suspended (paddle) fan” and follow the brace instructions.
- Mistake 2: Not checking joist direction before cutting. Fix: Probe with a small pilot hole or use a stud finder so your opening lands exactly where the brace can attach.
- Mistake 3: Overstuffing a small box with too many conductors. Fix: Choose a box with adequate cubic inch capacity for your wire count; the label lists this.
- Mistake 4: Wires chafing against rough metal edges. Fix: Use listed bushings and grommets, and secure cables with staples per spacing rules.
- Mistake 5: Mounting on cracked plaster alone. Fix: Always anchor to framing or to a listed brace, never just plaster or drywall.
Cost and effort snapshot — where your time goes
Here’s a compact look at what typically takes time or budget.
| Task | Time (hrs) | Difficulty | Notes |
|---|---|---|---|
| Brace & fan-rated box install | 1–2 | Moderate | Expandable brace is fastest from below |
| Routing cable & adding switch | 1–3 | Moderate | Remote receiver may skip this entirely |
| Fan assembly & balancing | 1–1.5 | Easy | Take your time; less wobble = quieter |
How to know your installation is a success
- Support test: With power off, gently push/pull the fan bracket. It should feel rock-solid with no box movement.
- Wobble check: Run on medium speed. A gentle “tick” is normal during break-in; persistent wobble means rebalance blades using the included kit.
- Noise check: A soft hum is okay; grinding or rubbing means stop and re-check alignment and screws.
- Control check: Switches/remote should work consistently; label the wall switch so nobody kills power to a remote receiver unintentionally.
Helpful, authoritative resources for deeper guidance
- Ceiling fan — Wikipedia: A neutral overview of types, motors, and airflow basics so you can choose wisely.
- U.S. DOE Energy Saver: Ceiling & Standalone Fans: When a fan actually helps, thermostat tips, and comfort trade-offs.
- ENERGY STAR® Ceiling Fans: High-efficiency models, airflow metrics (CFM/W), and buying filters.
- NFPA 70 (NEC): The electrical code many jurisdictions adopt; confirms that boxes must be listed for fan support.
- Home Depot: How to Install a Ceiling Fan: Retail how-to with pictures and tool lists.
- Family Handyman: Install a Ceiling Fan: DIY-friendly steps, including bracing and wiring tips.
Step-by-step checklist you can follow this weekend
- Pick a method (attic brace, expandable brace, or surface raceway).
- Buy a fan-rated box/brace kit that matches your method.
- Choose a fan sized for your room (e.g., ~44–52 in for common living rooms) and, if possible, an ENERGY STAR® model with a DC motor.
- Plan wiring: new wall switch vs. remote receiver. Confirm you have the right cable type and conductor count.
- Turn off power, verify, protect floors, and set up a stable ladder.
- Cut the opening using the kit template; install the brace/box per instructions.
- Route and secure cable (or install raceway), make connections, and mount the fan bracket.
- Hang the motor, connect wires, attach blades, balance, and test.
FAQ: answers to things people always ask
Do I need a permit? Often yes — quick and inexpensive in many places. Check your city/county website by searching “electrical permit ceiling fan.”
Can I tie into an existing nearby circuit? Possibly, but you must verify the circuit’s capacity and box fill limits. When in doubt, consult a licensed electrician.
What if my ceiling is concrete? Surface raceway + masonry anchors for a listed fan box is a common solution. A pro can also run conduit neatly.
My ceiling slopes — does that change anything? Choose a fan and canopy rated for sloped ceilings and use the right downrod length so blades clear the ceiling by at least ~7–10 in.
A quick comfort reality check before you start
Fans make you feel cooler by moving air over your skin — that “ahh” feeling on a summer evening. If you typically nudge the thermostat down to fight stuffiness, a fan lets you set it back up, often around 4°F, while staying just as comfortable (see DOE Energy Saver). For winter, some fans have a reverse mode that gently pushes warm air down from the ceiling — handy in rooms with tall ceilings.
Wrap-up: No existing hole? You can still add a ceiling fan that’s safe, quiet, and worth it
When there’s no existing hole, your job is to create one the right way, mount a fan-rated box that’s anchored to structure, and bring power by fishing cable or using a remote receiver (or surface raceway). Choose the method that fits your home: attic brace if you can get above it, expandable brace from below if you can’t, or a neat surface raceway when fishing is unrealistic. Keep the steps simple, take your time balancing the blades, and enjoy cooler comfort with less AC. If you’re ever unsure, bring in a pro — the peace of mind is worth it.
Your next move: skim the method comparison table, pick your path, and grab a fan/brace kit this week. By Sunday night, you could be sitting under a smooth, quiet breeze.


