Installing a large black ceiling fan on a sloped or vaulted ceiling can be straightforward if you plan the geometry, choose the right downrod and mounting hardware, and follow safe wiring practices. This pro guide walks you through everything from slope limits and downrod math to adapter installation, full step-by-step mounting, replacement tips, cleaning, and a practical FAQ. You will also get sizing charts, worked examples, and checklists you can print.
What counts as a “large” ceiling fan
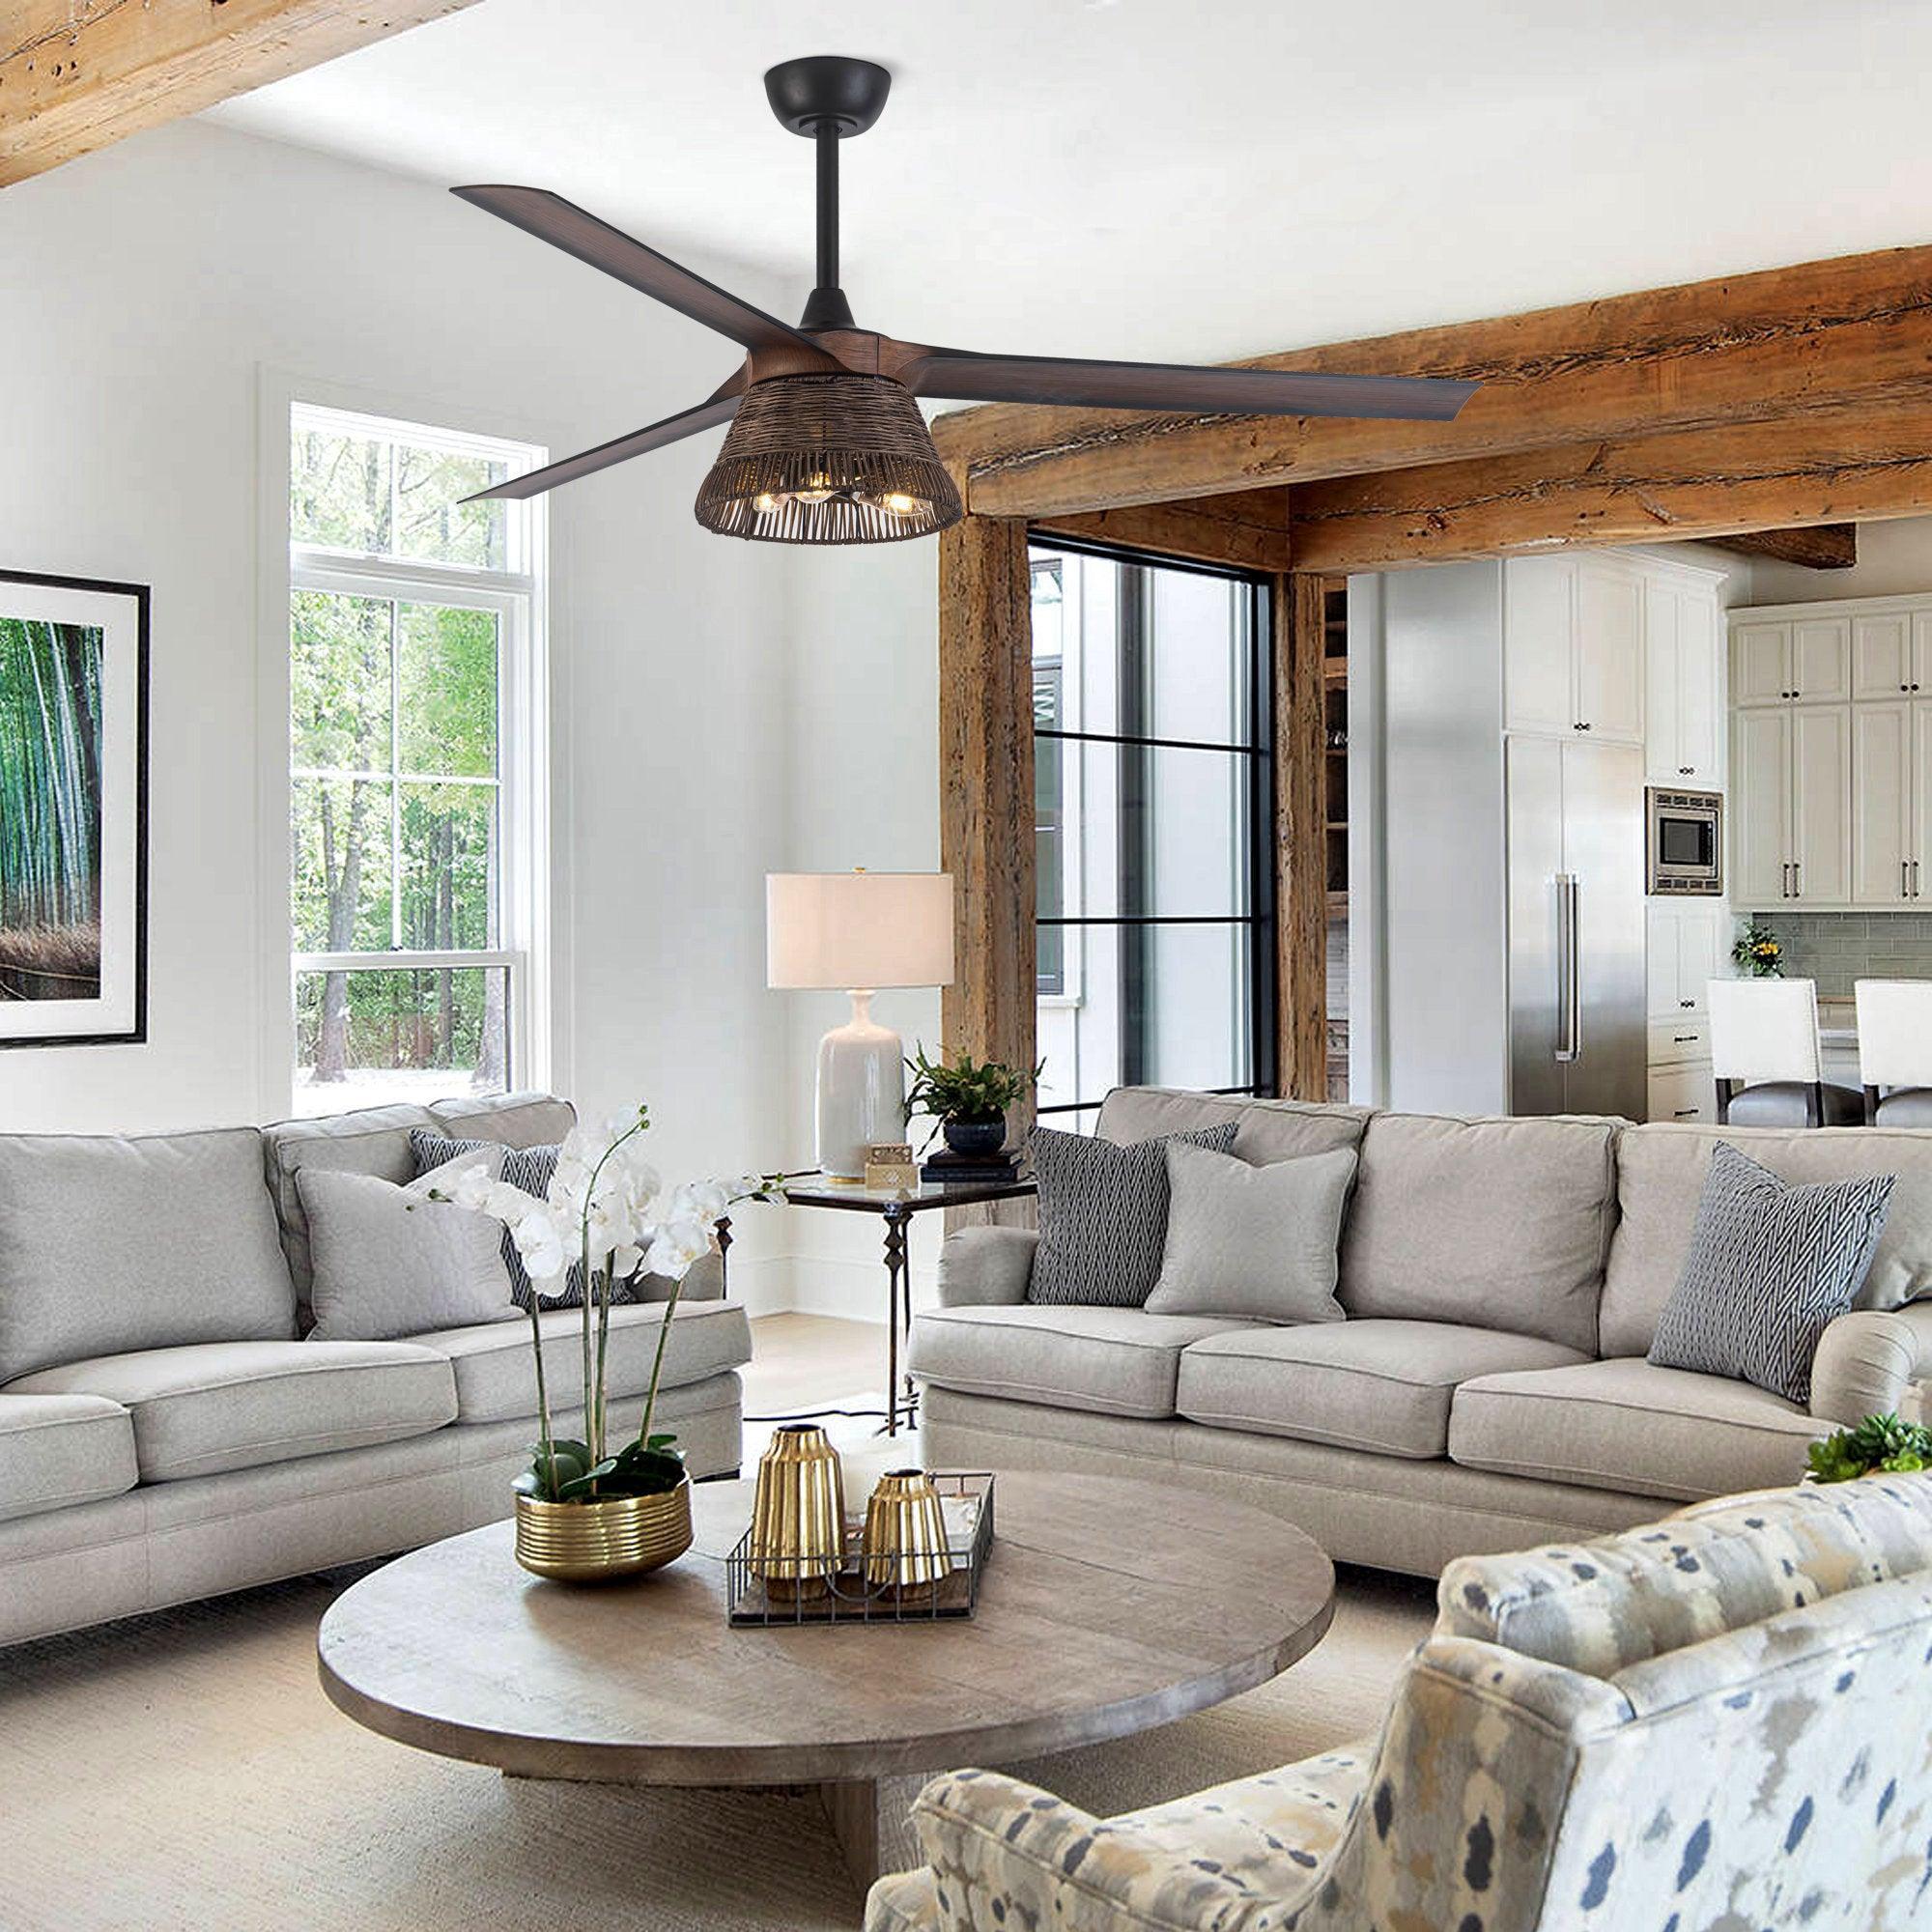
For this guide, “large” means a fan with a blade span of 60 inches or more. Common big sizes are 60, 65, 72, 84, and 96 inches. Larger spans move more air in great rooms, vaulted living rooms, barns, and tall porches, but they also demand better planning for height, slope, and structural support.
The 5 rules that prevent 90 percent of slope install problems
-
Use a fan-rated ceiling box anchored to structure, not a lamp box. The box and bracket must be stamped or listed for ceiling fan support.
-
Match the slope adapter to the fan brand and slope angle. Most standard hangers handle up to 15 degrees; steeper ceilings need a dedicated slope kit.
-
Pick a downrod length that keeps blades at least 7 feet above the floor and 8 to 10 inches below the ceiling plane for airflow.
-
Keep the blade tips at least 18 inches from walls or beams; more is better on steep vaults.
-
Use a remote or wall control rated for DC or AC as required by your motor type; avoid dimmers on fan motors.
Can all large black ceiling fans be installed on a sloped ceiling
Short answer: No. Most modern large fans can be adapted to a sloped ceiling, but there are exceptions.
-
Hugger or flush-mount fans do not work on pitched ceilings unless specifically designed for slope.
-
Many fans ship with a ball-and-socket hanger that accepts gentle slopes (typically up to 10 to 15 degrees). Beyond that you need a brand-specific slope adapter.
-
Ultra-wide fans (84 to 96 inches) sometimes require a heavier bracket or a reinforced hanger for slopes, and some are restricted from very steep ceilings due to blade clearance.
Red flags that a fan is not slope compatible
-
Only a fixed “J-hook” or rigid plate with no ball-and-socket joint
-
A canopy that is shallow and cannot pivot
-
No downrod option (flush only)
-
Manual states “ceiling pitch must not exceed X degrees” without an available adapter
If you have not purchased the fan yet, check the manufacturer’s slope range with and without the adapter, and verify downrod thread size (commonly 3/4 in NPT or 1 in NPT on very large fans).
How long should the downrod be on a sloped or vaulted ceiling
You need two things from a downrod: safe floor clearance and breathing room between blades and the ceiling plane for airflow.
-
Minimum blade-to-floor clearance: 7 ft by typical residential code. Tall occupants and tall ceilings often justify 8 ft.
-
Ideal blade-to-ceiling clearance: 8 to 10 inches or more. On steep vaults, measure perpendicular to the roof plane where the blades swing.
Quick downrod length formula (flat or mild slope)
Downrod length (inches) = Ceiling height (inches) − Desired blade height (inches) − Motor and canopy stack (typically 12 to 15 in)
For large fans, a safe default for desired blade height is about 102 in (8 ft 6 in) in very tall spaces or 96 to 100 in (8 to 8 ft 4 in) for average great rooms, provided blade tips stay at least 7 ft above the floor.
Adjusting for slope
On a slope, the ceiling is closer to one side of the blade sweep. Increase the downrod so the “high side” blade still has at least 8 inches to the ceiling plane.
Worked example
-
Ceiling height at fan box: 14 ft (168 in)
-
Large fan, motor stack plus canopy: 14 in
-
Target blade height: 102 in above floor
Flat calc: 168 − 102 − 14 = 52 in downrod.
Now account for slope. If the ceiling is 20 degrees, the high-side blade may approach the ceiling. Add 6 to 12 inches to create breathing room. Pick a 60 in downrod.
Downrod length table (starting points)
| Ceiling height at box | Slope 0 to 10 deg | Slope 11 to 25 deg | Slope 26 to 35 deg |
|---|---|---|---|
| 10 ft | 6 to 12 in | 12 to 18 in | 18 to 24 in |
| 11 ft | 12 to 18 in | 18 to 24 in | 24 to 36 in |
| 12 ft | 18 to 24 in | 24 to 36 in | 36 to 48 in |
| 13 ft | 24 to 36 in | 36 to 48 in | 48 to 60 in |
| 14 ft | 36 to 48 in | 48 to 60 in | 60 to 72 in |
These are starting points. Confirm with your fan’s motor height, canopy depth, and blade pitch.
What is the maximum slope angle for a ceiling fan
Without an adapter, many ball-and-socket mounts top out at 10 to 15 degrees. With a dedicated slope adapter, 25 to 45 degrees is common, and some heavy-duty kits reach 60 degrees.
Typical limits
| Mount type | Max slope (approx.) |
|---|---|
| Standard ball-and-socket hanger (no adapter) | 10 to 15 deg |
| Brand slope adapter kit | 25 to 45 deg |
| Heavy-duty slope kit (select models) | Up to 60 deg |
Always verify the combination of canopy clearance, decorative cover, and downrod diameter. On very steep slopes, the canopy can contact the ceiling unless you use a low-profile canopy or spacer ring designed for vaults.
How to install a slope adapter (pitch ceiling adapter)
The slope adapter replaces or augments the hanger and canopy so the downrod remains vertical while the canopy seals to the angled ceiling.
What you need
-
Brand-specific slope adapter kit
-
Fan-rated ceiling box and mounting hardware
-
Downrod of the selected length
-
Screwdriver set, nut driver, torque screwdriver if available
-
Ladder and helper
-
Electrical tester
-
Safety glasses and dust mask
Steps
-
Kill power at the breaker. Verify with a non-contact tester.
-
Mount the fan-rated box to structure. Use the bracket supplied with the adapter if required. On open framing, lag into a joist or beam. For retrofit between joists, use an expandable fan brace rated for fan loads.
-
Install the adapter hanger to the box using all included screws. The slotted side usually points uphill; check the manual for orientation.
-
Assemble the downrod to the motor on the ground. Tighten the set screws and safety pin per spec. Pull the conductors through the downrod.
-
Lift and seat the ball of the downrod into the adapter cradle. Ensure the ball’s groove nests into the tab so the fan cannot spin in the yoke.
-
Attach the canopy designed for sloped ceilings. Some kits include a split decorative ring to close gaps on steep vaults.
-
Proceed with wiring and blade installation per the fan manual.
Pro tip: Before lifting, tape the blade screw bag to the motor housing with painter’s tape so hardware is always within reach on the ladder.
Full installation: large ceiling fan on a sloped ceiling
This combines the adapter work with standard best practices for large fans.
Tools and supplies
-
Fan, slope adapter, downrod, and control (remote or wall)
-
Fan-rated ceiling box and bracket
-
Wire connectors rated for stranded conductors
-
Electrical tape and cable staples if running new cable
-
Torque screwdriver or driver with clutch
-
Level, tape measure, and angle finder
-
Two ladders or a scaffold for very tall rooms
Safety first
-
De-energize the circuit at the breaker.
-
Confirm the box is fan-rated; lamp boxes can fail under fan loads.
-
Use a helper. Large blades are awkward to lift alone.
Step-by-step
-
Set the box and bracket
Install the fan-rated box aligned with the framing. Add blocking if needed for a rigid mount. Install the slope adapter bracket to the box. -
Assemble the fan on the ground
Attach the downrod to the motor. Route wires through the downrod. Tighten the downrod set screws and lock pin. Install the hanging ball if it is not preattached. -
Hang the motor
Lift and set the downrod ball into the adapter cradle. Confirm the ball’s keyway aligns with the yoke tab. -
Electrical connections
-
Equipment ground (green or bare) to the supply ground and the hanger ground.
-
Neutral (white) to fan neutral (white).
-
Line hot (black) to fan motor hot (black).
-
If using separate light kit or separate fan/light wires, connect per the control scheme.
-
For DC fans with a receiver, tuck the receiver in the canopy per the manual; keep it clear of pinch points.
-
-
Secure canopy and decorative cover
Slide the canopy up and fasten. On steep slopes, install the split trim ring to close gaps. -
Attach blades or blade irons
Install blade arms to the motor, then attach blades. For very large fans with one-piece airfoils, follow the brand procedure. Use the specified torque so screws do not loosen from vibration. -
Install downrod safety cable if provided
Some large fans include a secondary safety cable that wraps around the structural member. Install per instructions, especially on steep vaults. -
Balance and test
Restore power. Verify forward and reverse functions. If there is wobble, stop and balance using the included kit. Confirm clearance at the high side of the slope.
Balancing tips for large spans
-
Verify all blade screws and blade arm screws are snug and evenly torqued.
-
Measure blade tip heights to the floor at 3, 6, 9, and 12 o’clock positions; small variances can reveal a bent blade arm.
-
Use the balance clip on the slow speed to pinpoint the heavy or light blade, then add the self-adhesive weight accordingly.
Replacing a ceiling fan on a sloped ceiling
Swapping a fan on a vault can be easier than a first-time install if the box and adapter are already correct.
-
Photograph wiring before disconnecting the old fan.
-
Measure the existing downrod and note the clearance on the high side of the slope; reuse the length if the new motor stack is similar.
-
Inspect the box and bracket. If the old fan used a non-rated box, upgrade to a listed fan box now.
-
Verify control compatibility. AC fans usually use standard remotes or wall controls; DC fans require their own receiver.
-
Install the new fan following the steps above, and recycle or responsibly dispose of the old unit.
Cleaning a ceiling fan installed on a sloped ceiling
Large fans collect dust more quickly simply due to surface area. Clean twice a year, more often in kitchens.
-
Turn off power at the wall and wait until blades stop.
-
Use a stable ladder or a small scaffold. On steep vaults with very high ceiling height, consider a telescoping duster between deep cleans.
-
Dry clean first with a microfiber glove or duster, sweeping from the root to the tip of each blade.
-
Spot clean with a slightly damp cloth and a mild soap solution if needed; dry immediately.
-
Do not bend blades. Excess pressure can warp blade irons and cause wobble.
-
Check hardware while you are up there: blade screws, downrod set screws, and canopy fasteners.
-
Vacuum the motor vents with a brush attachment to keep airflow unobstructed.
Planning tables and quick math
1) Slope and adapter needs
| Slope angle | Adapter needed | Notes |
|---|---|---|
| 0 to 10 deg | Usually no | Standard ball-and-socket is fine |
| 11 to 15 deg | Sometimes | Many mounts still OK; check canopy clearance |
| 16 to 25 deg | Yes | Use the brand slope kit |
| 26 to 45 deg | Yes | Heavy-duty slope kit recommended |
| 46 to 60 deg | Specialty | Only some models and kits support this range |
2) Minimum clearances
| Clearance | Minimum |
|---|---|
| Blade tips to floor | 7 ft (8 ft preferred in tall rooms) |
| Blades to ceiling plane | 8 to 10 in |
| Blade tips to wall or beam | 18 in |
| Fan to sloped skylight or chandelier | Enough to avoid turbulence and strobe effects; 36 in clear is a good target |
3) Downrod length selection cheat sheet
This assumes a motor stack plus canopy of 14 inches. Adjust for your model.
| Ceiling height | Target blade height | Suggested downrod |
|---|---|---|
| 10 ft | 96 to 100 in | 12 to 18 in |
| 11 ft | 96 to 102 in | 18 to 24 in |
| 12 ft | 96 to 102 in | 24 to 36 in |
| 13 ft | 96 to 102 in | 36 to 48 in |
| 14 ft | 96 to 102 in | 48 to 60 in |
If your slope is over 20 degrees, consider adding 6 to 12 inches to these lengths to maintain high-side clearance.
Controls and wiring on sloped ceilings
-
DC motor fans typically ship with a receiver that must live in the canopy. On steep slopes, space can be tight; use the canopy intended for slope installs and dress wires neatly.
-
Wall controls for DC fans talk to the receiver by low-voltage or RF. Confirm you are not pairing an AC fan control to a DC fan.
-
Two-circuit wiring (separate fan and light hots) is optional with most modern remotes; check if you want independent wall control.
-
Do not place a motor on a dimmer. Use only fan speed controls or the included remote.
Structural considerations on a vault
-
The box must be listed for fan support and rated for at least the fan’s weight; many are 70 lb or more.
-
If the box is mounted to a sloped beam, confirm the adapter bracket can sit square and the ball can rotate freely.
-
For very heavy or very large fans, add a secondary safety cable to structure if the manufacturer provides one.
-
On open timber ceilings, surface-mount fan boxes and decorative covers are available to avoid cutting into beams.
Noise, wobble, and airflow on sloped ceilings
-
Wobble is usually an installation issue: uneven blade iron screws, bent irons, or a downrod that is not fully seated in the ball keyway.
-
Noise can come from wiring or a receiver tapping the canopy on steep slopes. Secure with cable ties and foam pads per the manual.
-
Airflow is strongest when blades are 8 to 10 inches from the ceiling plane. Too close and the fan recirculates its own air, reducing CFM sensation.
Example layouts you can copy
Great room, 18 ft ridge, 25 degree slope, 72 in fan
-
Fan box at 15 ft above floor along the vault
-
Slope kit installed, downrod 48 in
-
Blade height ~9 ft 6 in
-
High-side clearance to ceiling plane ~10 in
-
Control: DC remote receiver in slope canopy
Vaulted bedroom, 12 ft at ridge, 15 degree slope, 60 in fan
-
Fan box at 11 ft
-
Standard ball-and-socket OK, no adapter
-
Downrod 18 in, blade height ~9 ft
-
Edge of blades 24 in from the nearest wall
Covered patio, 13 ft vaulted, damp rated 84 in fan
-
Fan box mounted to a beam with exterior fan box
-
Heavy-duty slope kit, 36 in downrod
-
Marine-safe finish hardware, weather resistant receiver pocket
Printable checklist
-
Fan-rated ceiling box installed and secure to structure
-
Slope angle measured and within fan or adapter limits
-
Downrod length selected for floor and ceiling clearances
-
Canopy and slope trim ring fit your angle without binding
-
Control type confirmed (DC vs AC) and compatible receiver installed
-
Ground, neutral, and hot connections tight and supported
-
Blades installed and hardware torqued evenly
-
Wobble check complete; balance weights applied if needed
-
Airflow verified; no interference on high side of slope
-
Final function test: speeds, reverse, light (if equipped)
FAQ
Q1:Can I install a large ceiling fan on a very steep cathedral ceiling?
A: Yes, if the fan manufacturer supports your slope angle with a dedicated adapter and you maintain blade clearance. Many systems handle 25 to 45 degrees; a few go to 60. Verify before purchasing.
Q2:How do I know my ceiling box is fan-rated?
A: The metal or plastic box should be labeled for ceiling fan support and include a robust bar or screw bosses. If it looks like a thin, shallow lamp box, replace it with a listed fan box.
Q3:What downrod diameter do I need for a large fan?
A: Common sizes are 3/4 inch and 1 inch NPT. Very large or commercial fans may require larger diameters. Match the brand specifications, especially when using long downrods on slopes.
Q4:Will a long downrod make the fan wobble more?
A: Longer downrods can amplify imbalances. Balance the blades carefully, ensure the ball is fully seated, and use the manufacturer’s safety cable if provided.
Q5:How high should big fans be from the floor?
A: Never less than 7 feet to blade tips. In large rooms, 8 feet to blades often feels and performs better.
Q6:Can I mount a large fan close to a ridge beam?
A: Yes, as long as you maintain blade clearance. Keep blade tips at least 18 inches from beams to avoid turbulence and strobe effects.
Q7:My new fan hums after installation. Is that normal?
A: A faint motor sound at high speed can be normal, but humming often traces to a receiver touching the canopy or a dimmer controlling the fan circuit. Reseat the receiver and use a proper fan control.
Q8:Can I use a short downrod for a modern look on a slope?
A: Only if the blades will still clear the ceiling plane by at least 8 inches at the high side. On steeper slopes, short downrods starve the fan of air and reduce airflow significantly.
Final take
Installing a large black ceiling fan on a sloped ceiling is all about geometry and support: determine your slope angle, choose the right adapter, size the downrod for both floor and ceiling clearance, and mount everything to a fan-rated box. Give the blades room to breathe, keep controls compatible with your motor type, and balance the fan before calling it done. Plan it right and the result looks clean, runs quietly, and moves a ton of air in your vaulted space.

